略過產品資訊
1 / 4

鬆弛熊 - 鬆弛熊 & 輕鬆熊

鬆弛熊 - 鬆弛熊 & 輕鬆熊

41 Pieces

Rilakkuma & Korilakkuma 3D 水晶拼圖僅適用於香港、澳門、台灣、新加坡、馬來西亞、文萊、泰國和韓國的送貨地址。如果您想購買地址位於香港、澳門、台灣、新加坡、馬來西亞、文萊、泰國或韓國的拼圖,請切換到該地區將產品添加到購物車。 Taxes and tariffs are not included.

鬆弛熊 - 鬆弛熊和可里拉熊 3D 水晶拼圖的特點是鬆弛熊和可里拉熊一起閒逛。

鬆弛熊完全放鬆地躺在他的黃色坐墊上。

包括一個獨特的鬆弛熊形狀的支架,上面印有鬆弛熊的標誌。

探索 輕鬆熊系列

© 2016 San-X 有限公司。

版權所有

查看完整資訊

  • 3D Crystal Puzzle Frog being built on a white background. There are two frogs. The smaller one is done and the bigger one is being built.

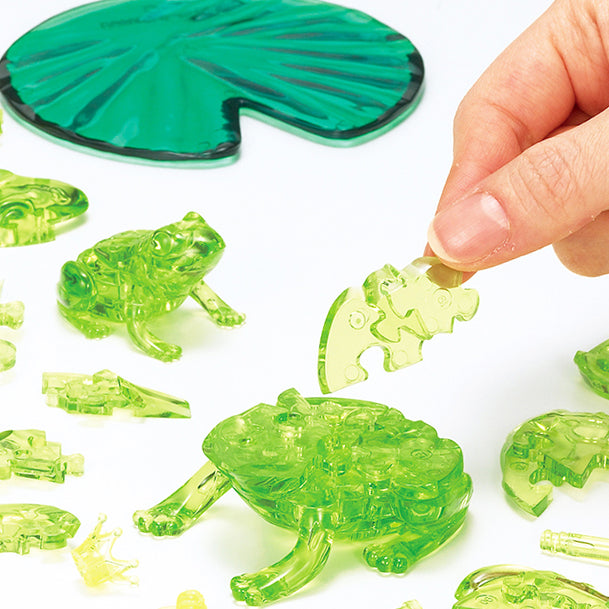
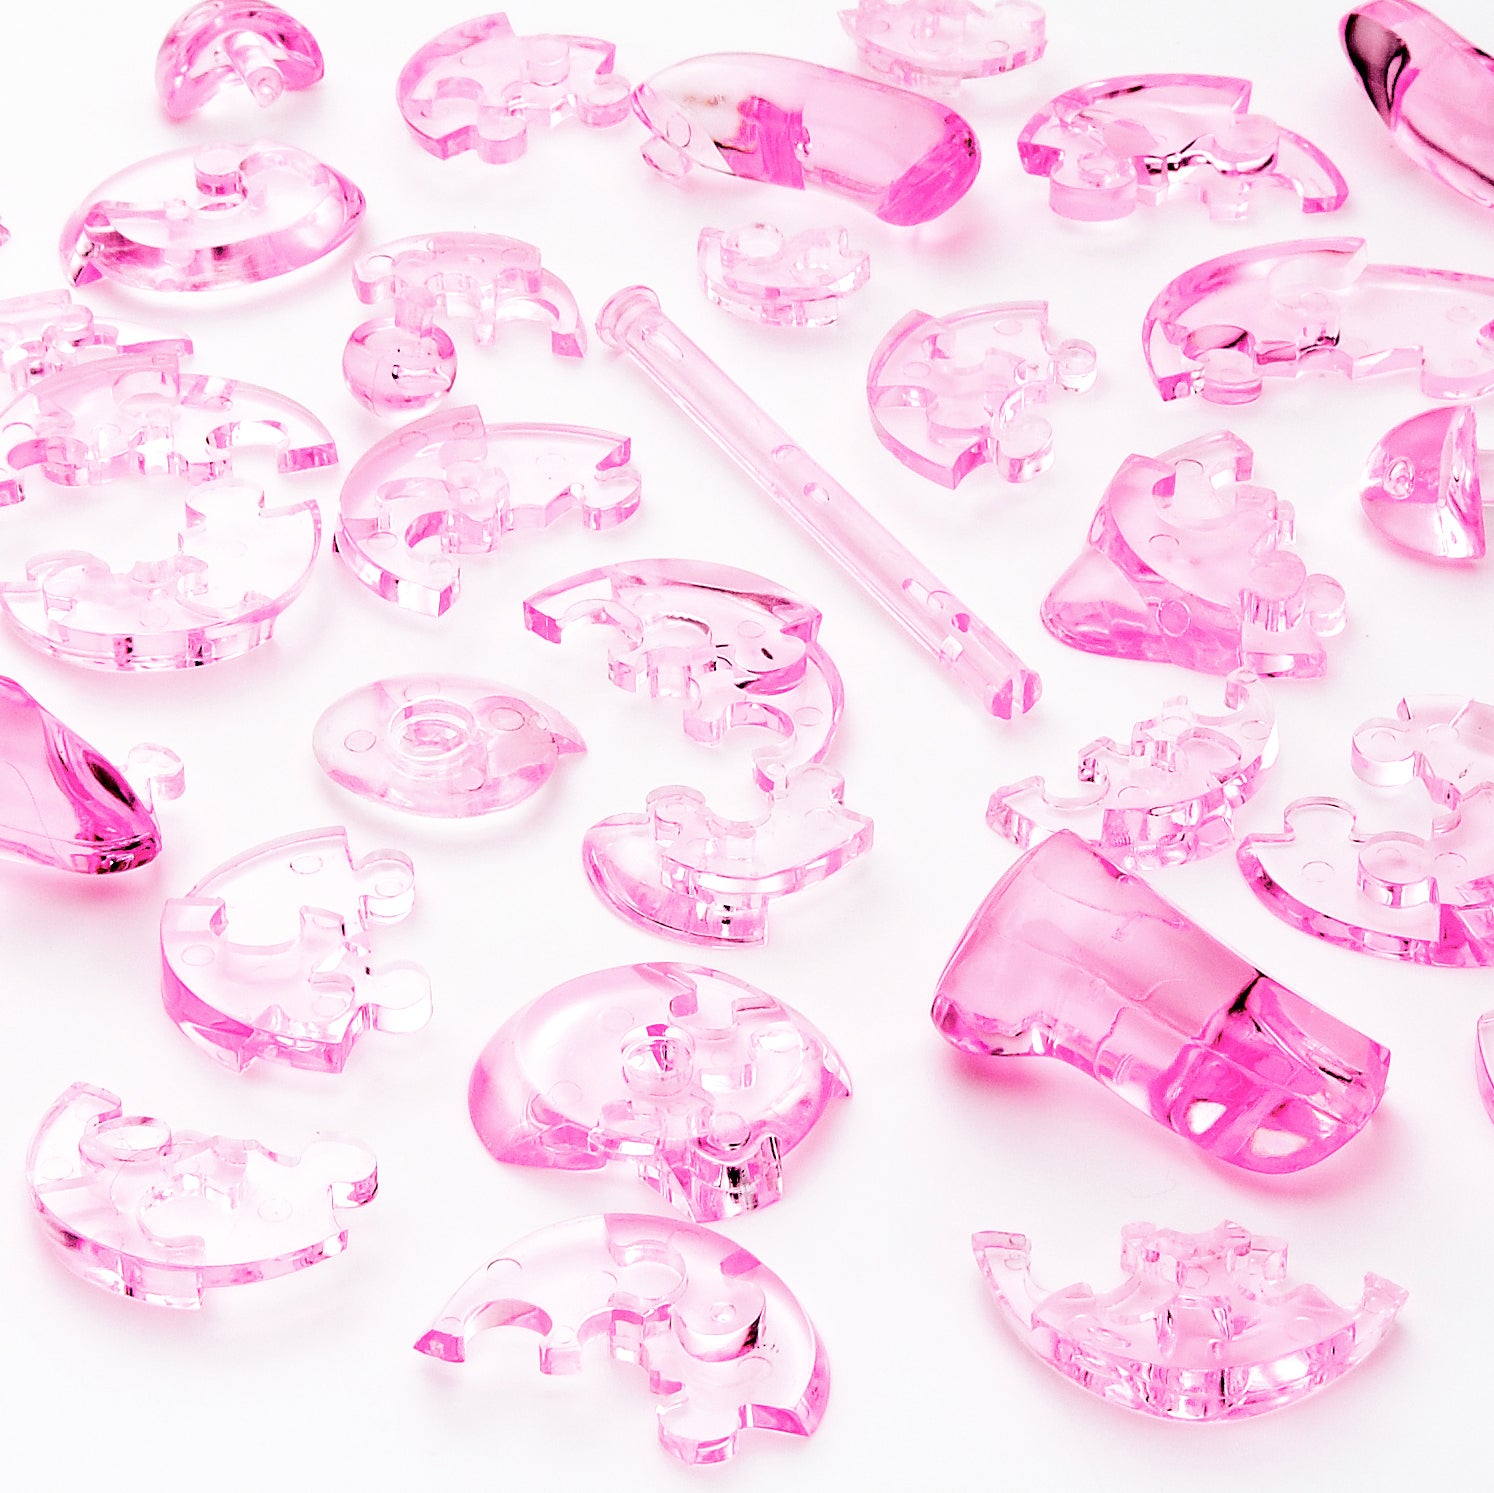
    Assemble the base pieces and build upwards.

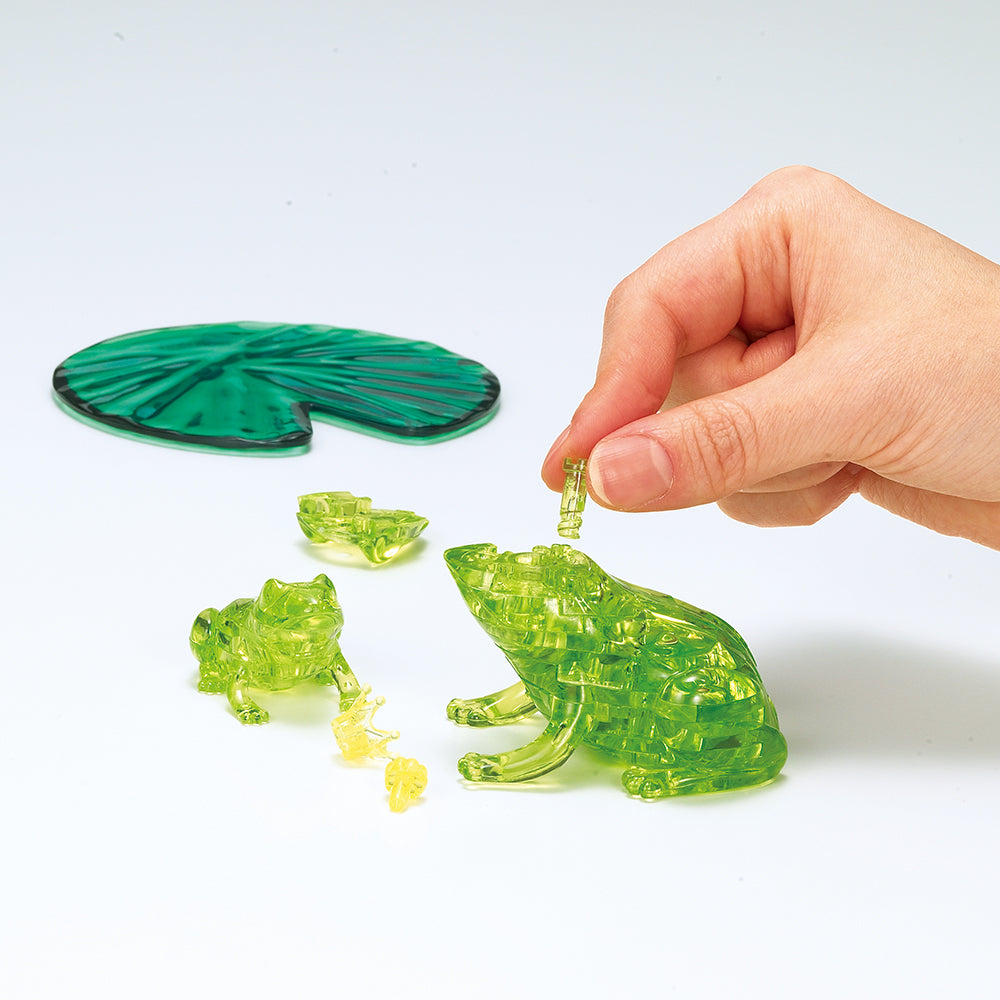
  • Insert center pole and secure it using provided key.

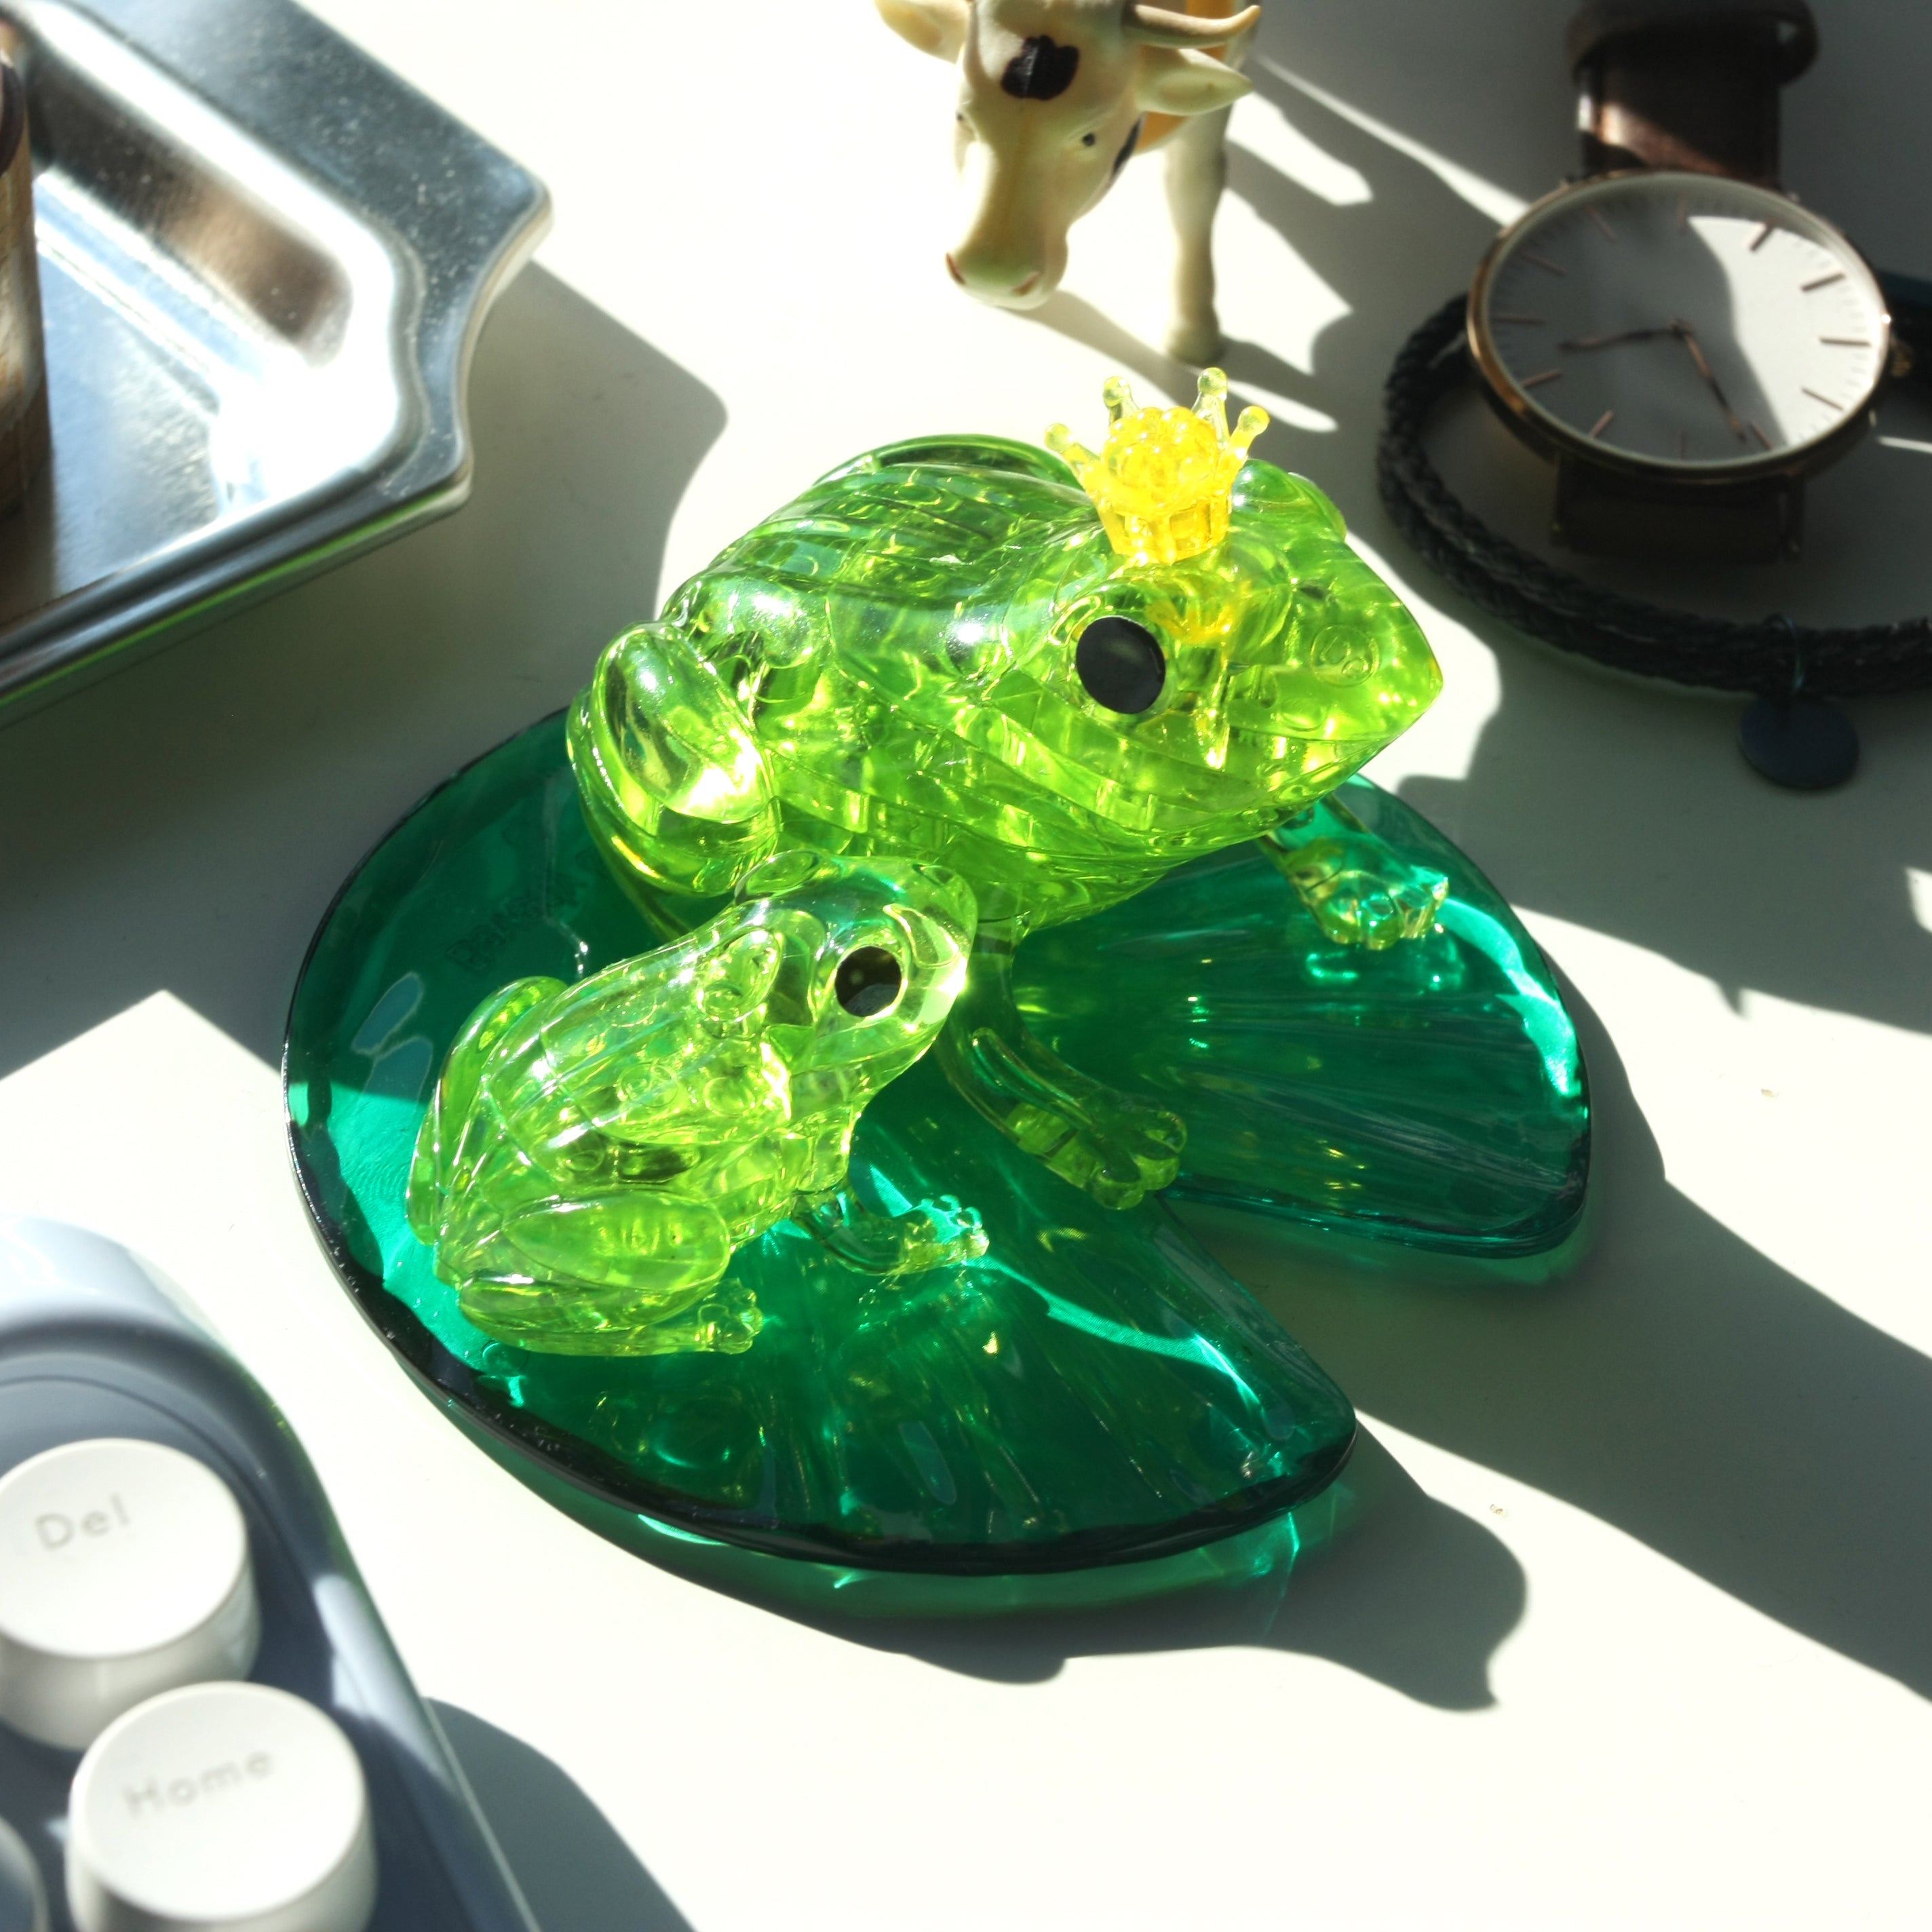
  • Once complete, show off your puzzle!

1 / 3

可摺疊的內容

What's in the box?

◦ 鬆弛熊 & 輕鬆熊 3D 水晶拼圖
◦ 貼紙包
◦ 拼圖說明

Puzzle Specifications

◦ 尺寸 | 50毫米×70毫米×45毫米
◦ 顏色 | 棕色/透明/白色/黃色/藍色
◦ 件 | 41
◦ 重量 | 135克

Shipping Information

Rilakkuma & Korilakkuma 3D 水晶拼圖僅適用於香港、澳門、台灣、新加坡、馬來西亞、文萊、泰國和韓國的送貨地址。 Shipping fees are calculated automatically at checkout. All orders of 3D Crystal Puzzles are shipped from Hong Kong, with delivery fees and times depending on the order’s weight and the distance to the destination. All of our shipping options provide tracking.

Contact Us

Contact us @ info@kinato.com Instagram: @3dcrystalpuzzle Facebook: @3dcrystalpuzzle

Therapeutic Touch

Foster peace & mindfulness with each piece of your puzzle.

Activate the Brain

Experience the surge of puzzle-solving dopamine.

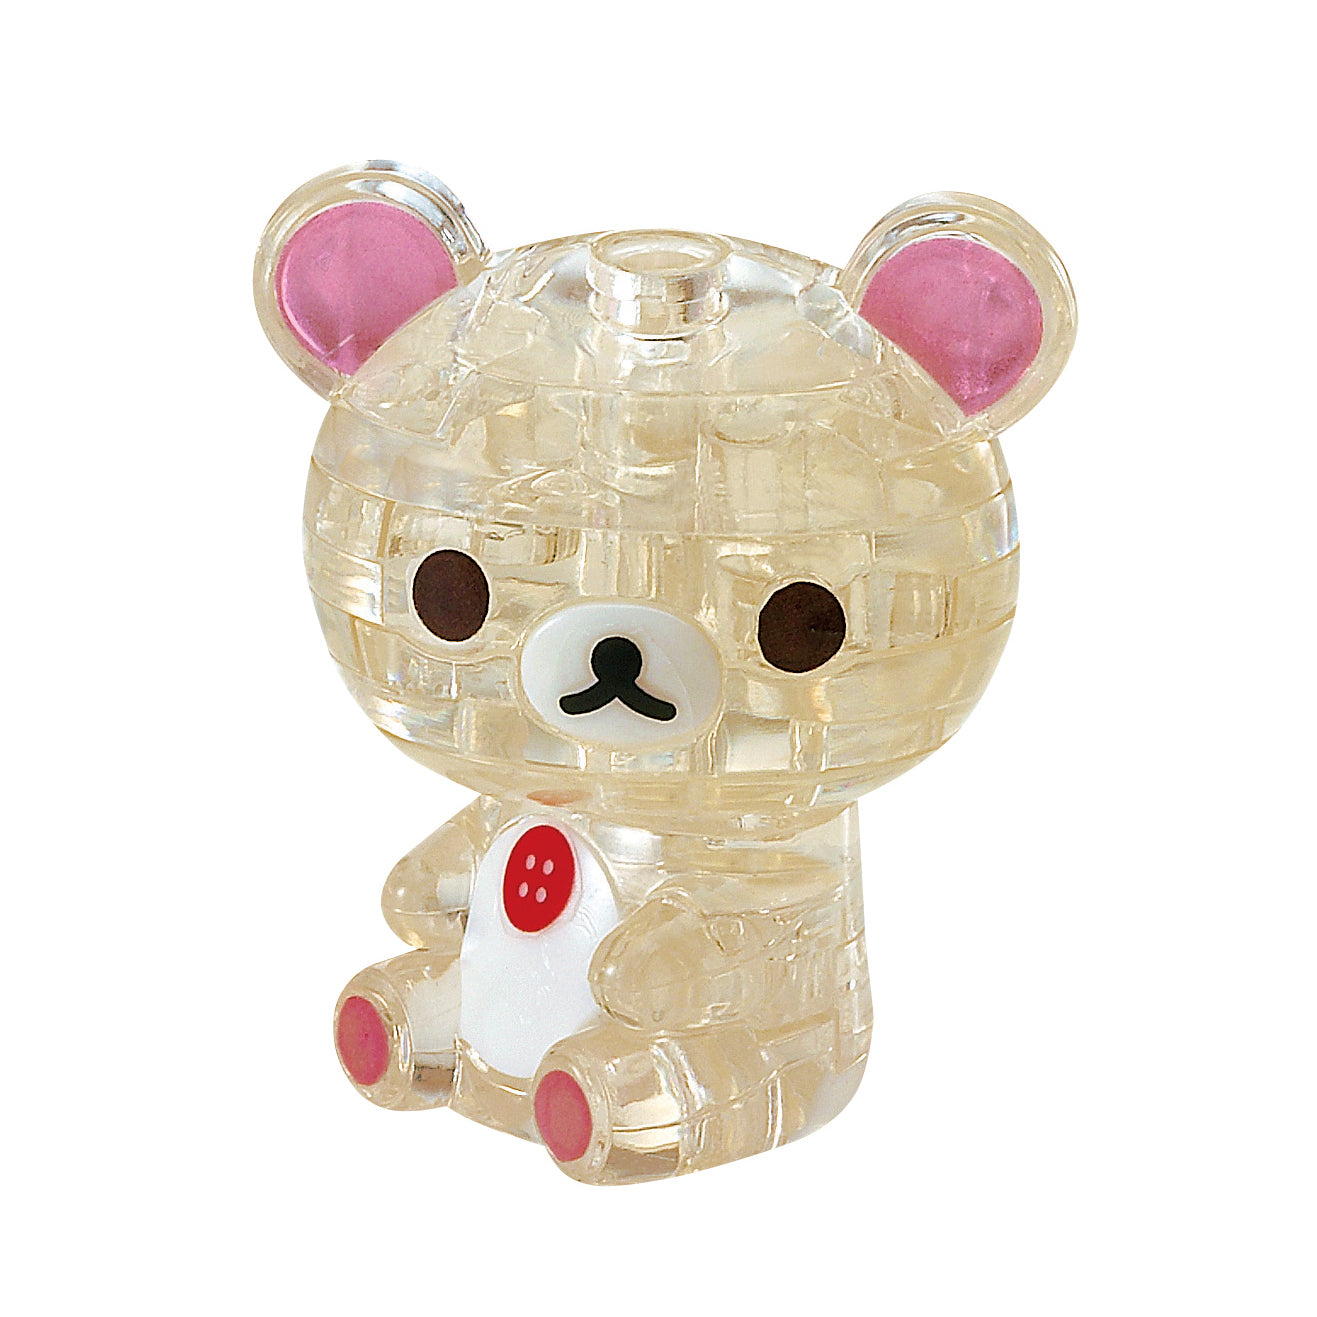
Meticulously Designed

Each 3D Crystal Puzzle is crafted with exceptional attention to detail.

Spatial Recognition

Improve executive functioning & hand-eye coordination.

  • Pink pieces of 3D Crystal Puzzle bear scattered on a white background.

    We are committed to your puzzle experience. Receive free replacement in the rare case of a missing piece.

    Lost Piece Request 
  • 3D Crystal Puzzle Frog being built on a white background. There are two frogs. The smaller one is done and the bigger one is being built.

    Pick your favorite from 100+ puzzles with unique solutions. Instructions are included in the box & our website.

    Puzzle Instructions 
1 / 2